

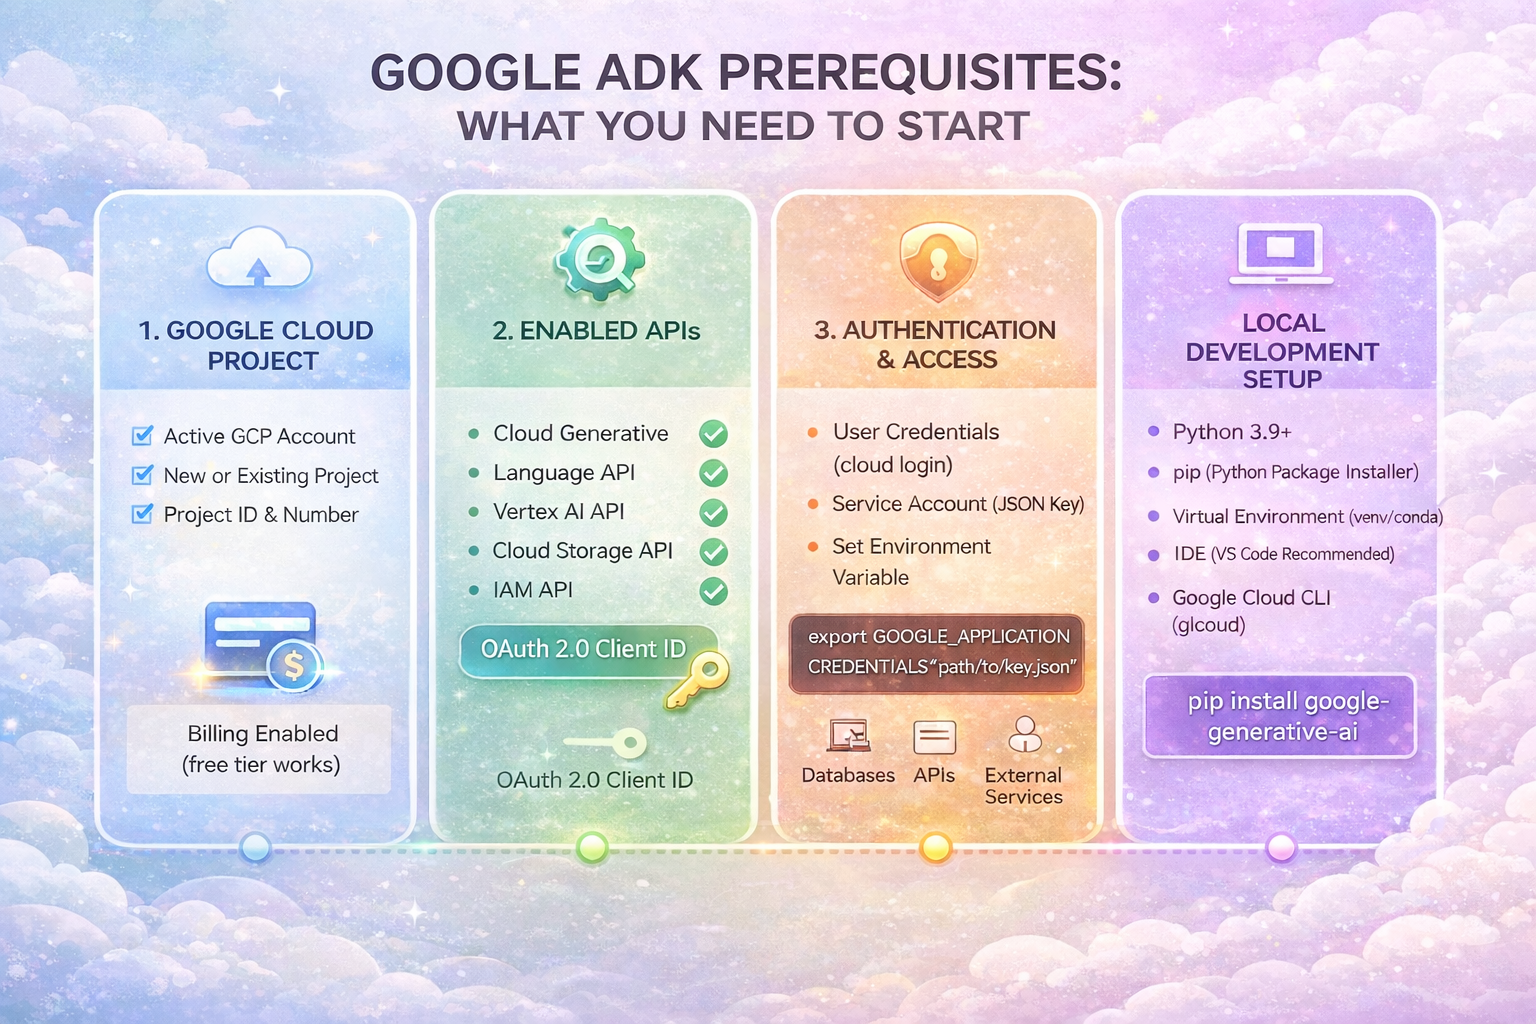
So you want to build AI agents with Google's Agent Development Kit. Great choice. But before you dive into writing agent code, you need to get a few things in place.
Don't worry. The setup is straightforward. This guide covers everything you need, with no fluff.
1. Python 3.10 or Higher
ADK runs on Python. You'll need version 3.10 or higher. Versions 3.10 through 3.12 work best.
Check your Python version by opening a terminal and running:

If you see something like "Python 3.10.12" or higher, you're good. If not, download the latest Python from python.org.
2. Terminal Access
You'll need a terminal to run commands. On macOS, use Terminal. On Windows, use Command Prompt or PowerShell. On Linux, use your default terminal.
3. A Gemini API Key (Free)
Your agent needs to talk to an AI model. ADK works beautifully with Google's Gemini models, and you can get an API key for free.
Here's how:
1. Go to Google AI Studio (aistudio.google.com)
2. Sign in with your Google account
3. Click "Get API Key" in the left sidebar
4. Create a new key and copy it somewhere safe
Keep this key private. Don't commit it to GitHub or share it publicly.
4. A Virtual Environment (Highly Recommended)
Virtual environments keep your project's dependencies isolated. This prevents conflicts with other Python projects on your machine. Trust me, you want this.
Create one with these commands:
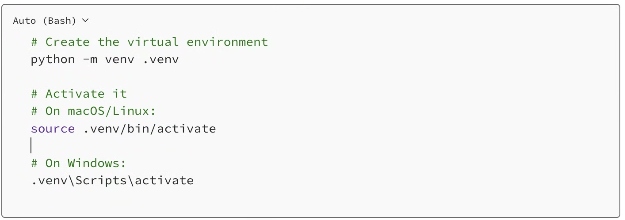
You'll know it's active when you see (.venv) at the start of your terminal prompt.
5. A Code Editor
You'll need somewhere to write code. VS Code is popular and free. PyCharm works great too. Even a simple text editor will do.
Pick whatever you're comfortable with.
Installing ADK
Once you have the prerequisites, installing ADK takes one command:

Verify it worked by checking the version:

If you see a version number, you're all set.
Setting Up Your API Key
ADK needs to know your API key. The cleanest way is to create a .env file in your project folder.
Create a file called .env and add these lines:

Replace "your_api_key_here" with the actual key you got from Google AI Studio.
Quick Verification
Let's make sure everything works. Create a simple test agent:
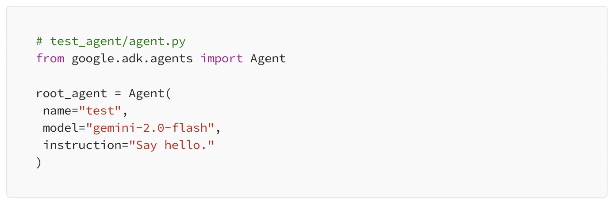
Don't forget to create __init__.py in the same folder:

And copy your .env file into the test_agent folder. Then run:

Open http://localhost:8000 in your browser. If you see the ADK dev UI and can chat with your agent, congratulations. You're ready to build.
Optional: Vertex AI (For Production)
For production deployments, you might want to use Vertex AI instead of Google AI Studio. This requires a Google Cloud account with billing enabled.
If you're just learning or prototyping, stick with the free Google AI Studio key. You can always switch later.
Quick Checklist
Before moving on, make sure you have:
✓ Python 3.10+ installed
✓ Terminal access
✓ A Gemini API key from Google AI Studio
✓ A virtual environment created and activated
✓ ADK installed (pip install google-adk)
✓ Your API key stored in a .env file
Wrapping Up
That's everything you need. The setup takes about 10 minutes, and most of it is just installing Python and getting your API key.
Leave A Comment